
Last updated November 16, 2026
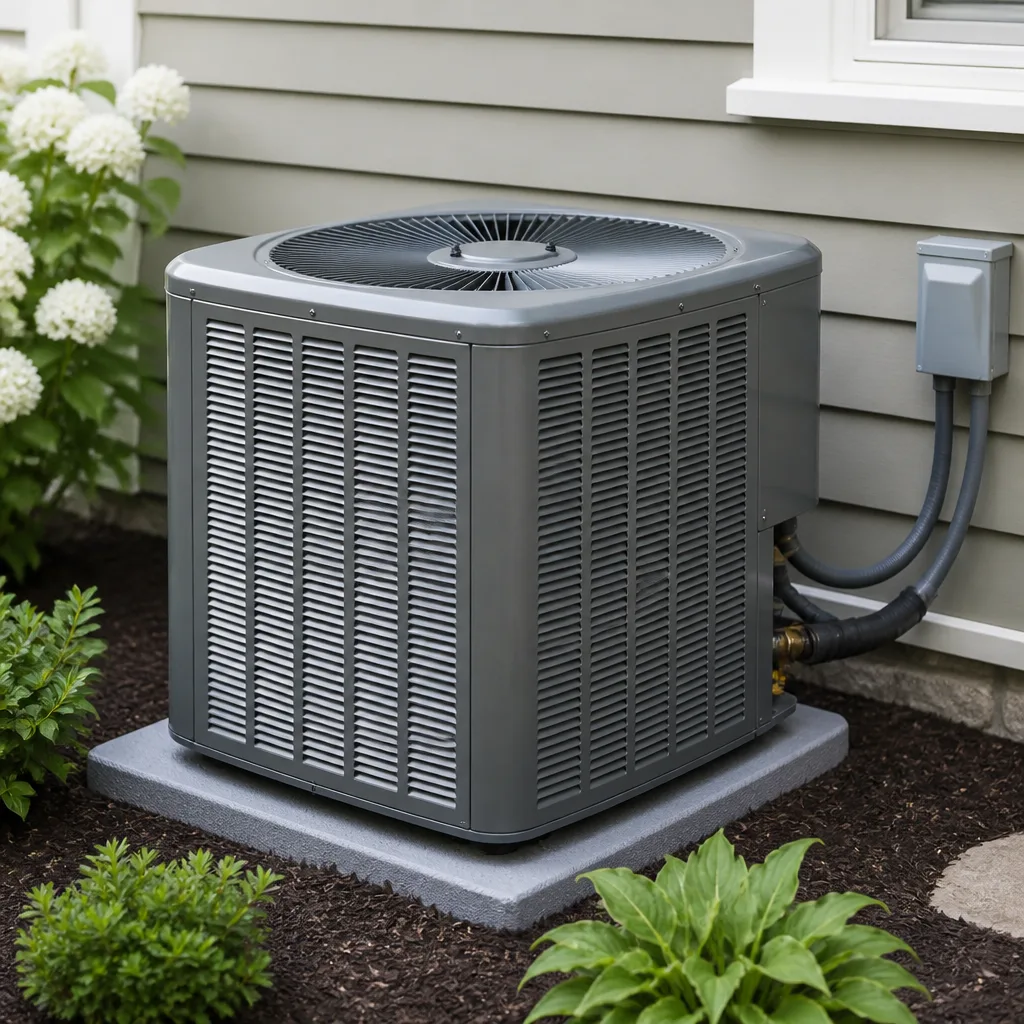 AC repair
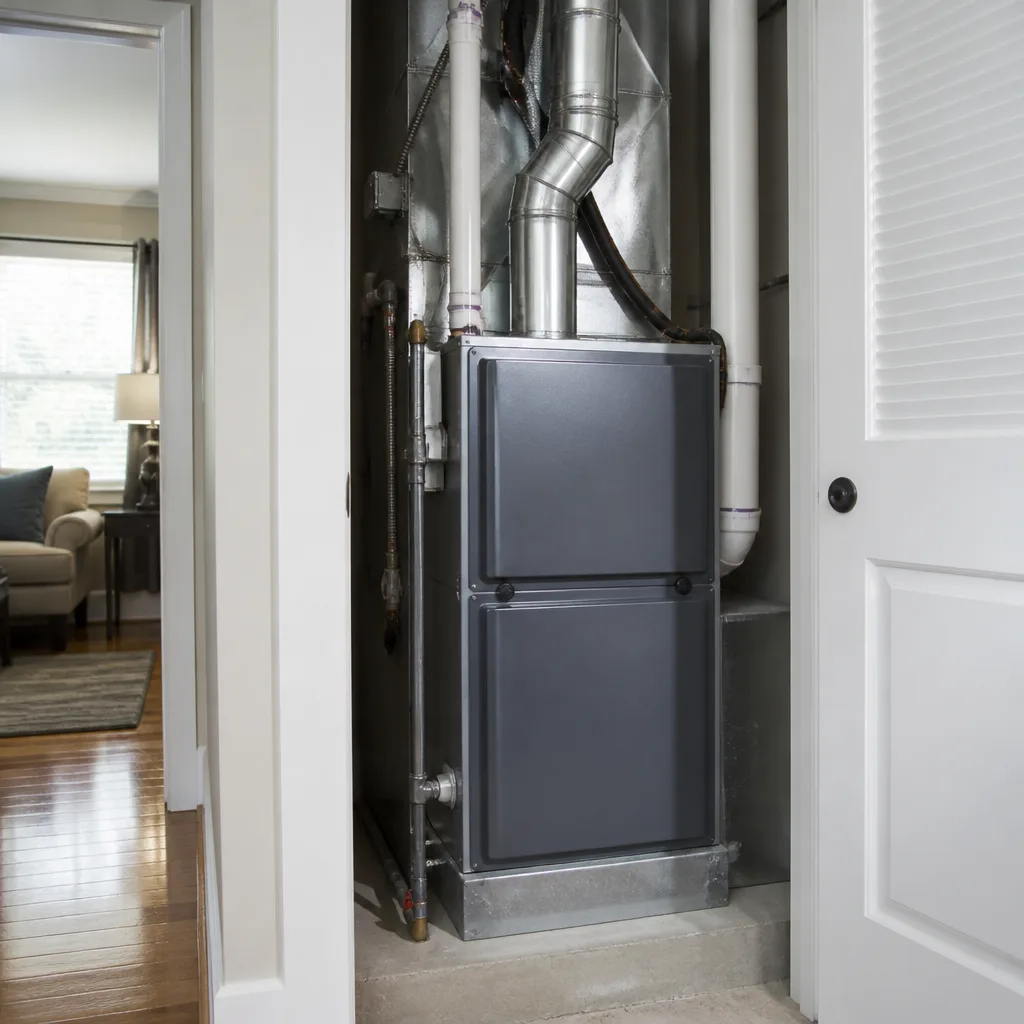 Furnace & heating
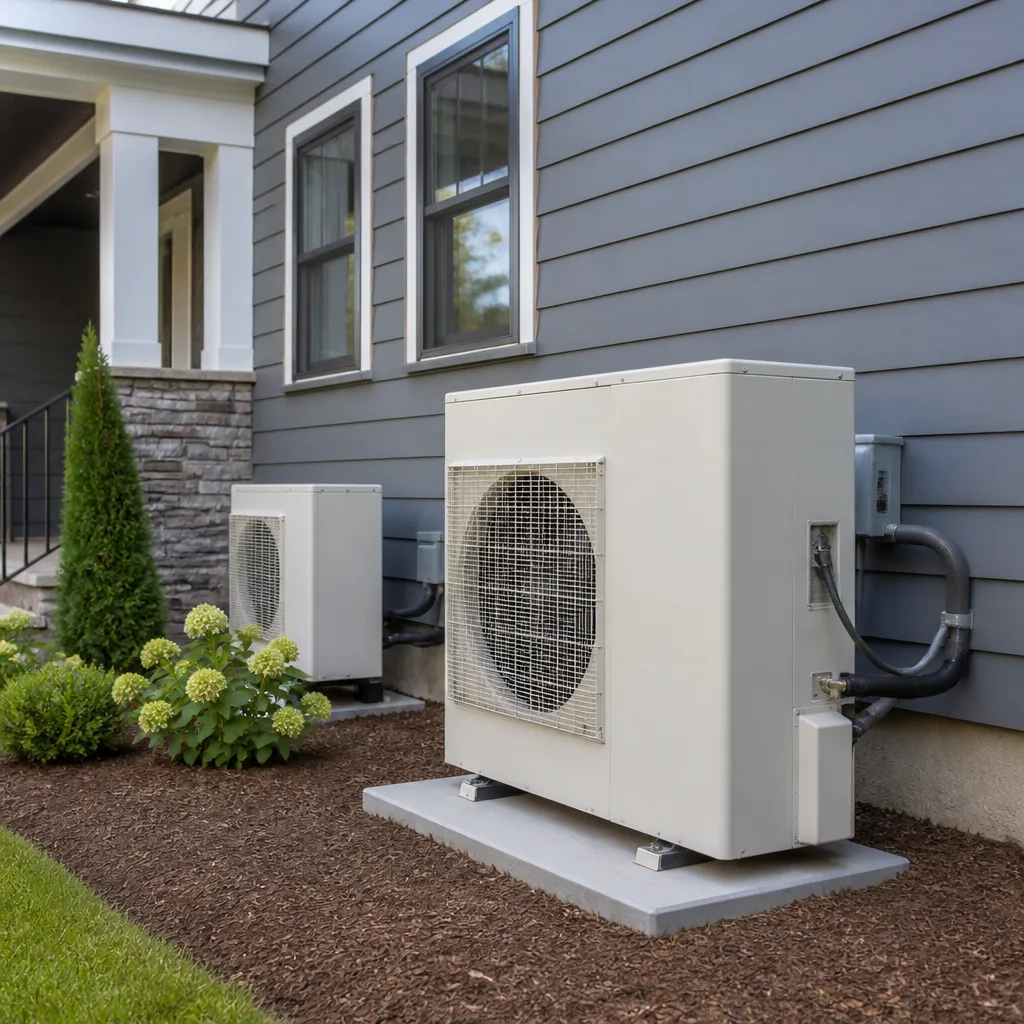 Heat pumps
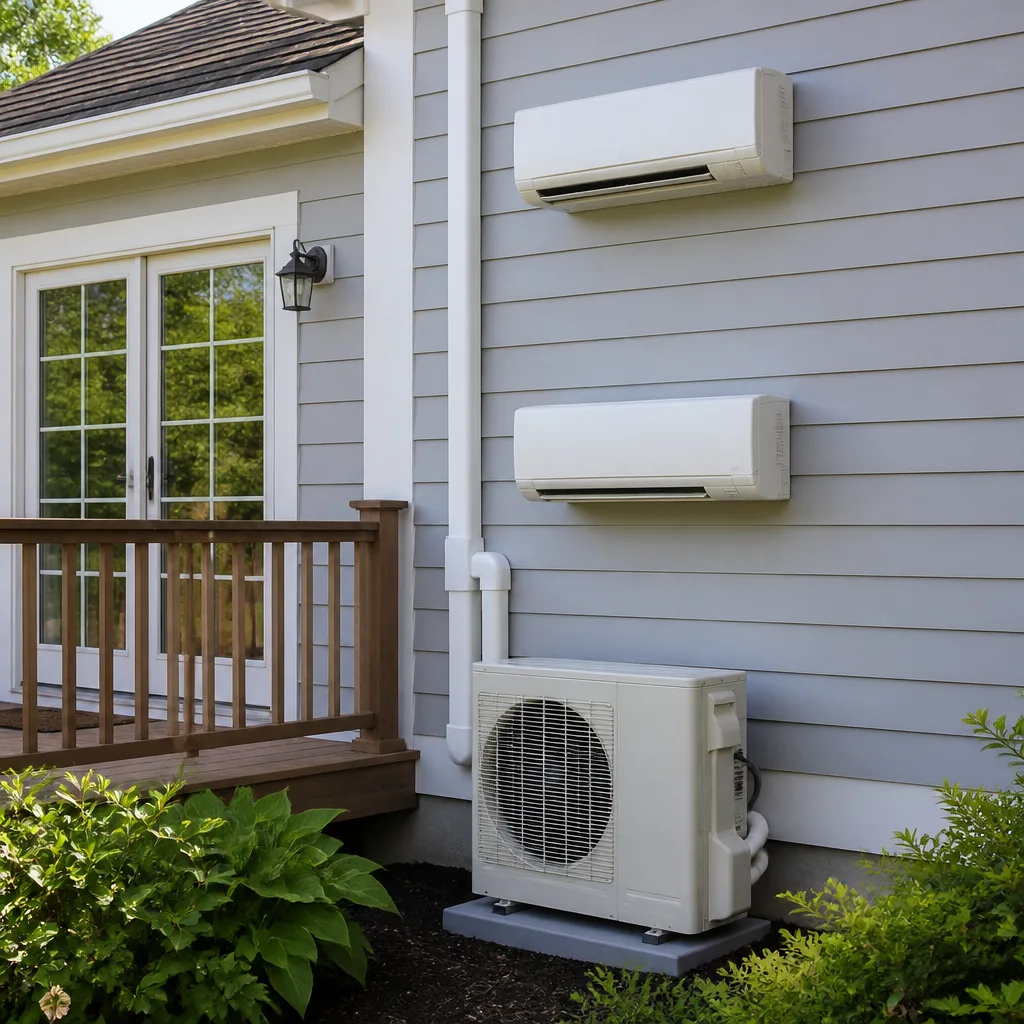 Ductless mini splits
 Carrier
 Trane
 Goodman
Seasonal tune-up and full diagnostic on your Carrier, Trane, or Goodman system - readings shown to you before any repair is proposed
Diagnosis first, numbers second - you approve the repair price before a single part goes in.
Get your free estimateAC Installation Troubleshooting in Paradise: Common Problems and How to Fix Them
A brand-new AC unit that short-cycles in Paradise heat isn’t defective. It’s almost always installed into a system it was never sized to serve. That’s the part nobody tells homeowners when the truck pulls away and the house still feels wrong at 3pm. The problem usually isn’t the box on the pad or the air handler in the closet. It’s one of three installation decisions made before the system ever turned on: how the equipment was sized, how the ducts were connected, and how the refrigerant circuit was commissioned. Knowing which three lets you ask your contractor a sharper question than “why doesn’t it cool right?” This guide walks through each failure mode in plain terms, then shows you what a proper fix actually involves.
Quick Answer
Most post-installation cooling problems in Paradise trace back to three causes: equipment sized by rule of thumb instead of a real load calculation, duct systems that leak or choke airflow in attic heat, and refrigerant circuits that were never properly charged or matched during setup. Short cycling, weak airflow, and a unit that can’t hold temperature above 108°F are the usual symptoms. A licensed technician can confirm which one you have with a static pressure check, a superheat/subcool reading, and a visual look at the indoor and outdoor coil match.
Styles & brands we work with
- AC repair
- Furnace & heating
- Heat pumps
- Ductless mini splits
- Carrier
- Trane
- Goodman
Table of Contents
- The Three Installation Decisions That Cause Most Problems
- Refrigerant Charge Problem vs. Refrigerant Leak: Two Different Fixes
- Why a New Unit Struggles Above 108°F (It’s Usually Ducts)
- Mismatched Coil Combinations and What the Fix Costs
- Thermostat Wiring Problems You Can Describe in Plain English
- Condensate Drainage in Paradise Dust and Caliche Soil
- A Step-by-Step Way to Narrow Down the Problem
- When to Call a Professional
The Three Installation Decisions That Cause Most Problems
An AC system is a chain of components: outdoor condenser, indoor coil, refrigerant lines, ductwork, thermostat, and electrical. A weakness anywhere in the chain shows up as the same homeowner complaint: “it’s not keeping up.” That’s why diagnosis starts upstream, at the installation decisions, not at the equipment nameplate.
The first decision is sizing. If your contractor picked the tonnage from square footage alone, without a room-by-room load calculation, the system may be too large. An oversized unit cools the house fast, shuts off before it removes humidity, then starts again a few minutes later. That’s short cycling. It’s hard on the compressor and it never leaves the house feeling right.
The second decision is the duct connection. An air handler moving 3 tons of air through undersized or leaking trunk lines is fighting itself. Paradise attics get hot enough that any gap in the duct system pulls in that attic air before it reaches your rooms. In our experience, a new install into old ductwork is where most “the unit just isn’t strong enough” complaints begin.
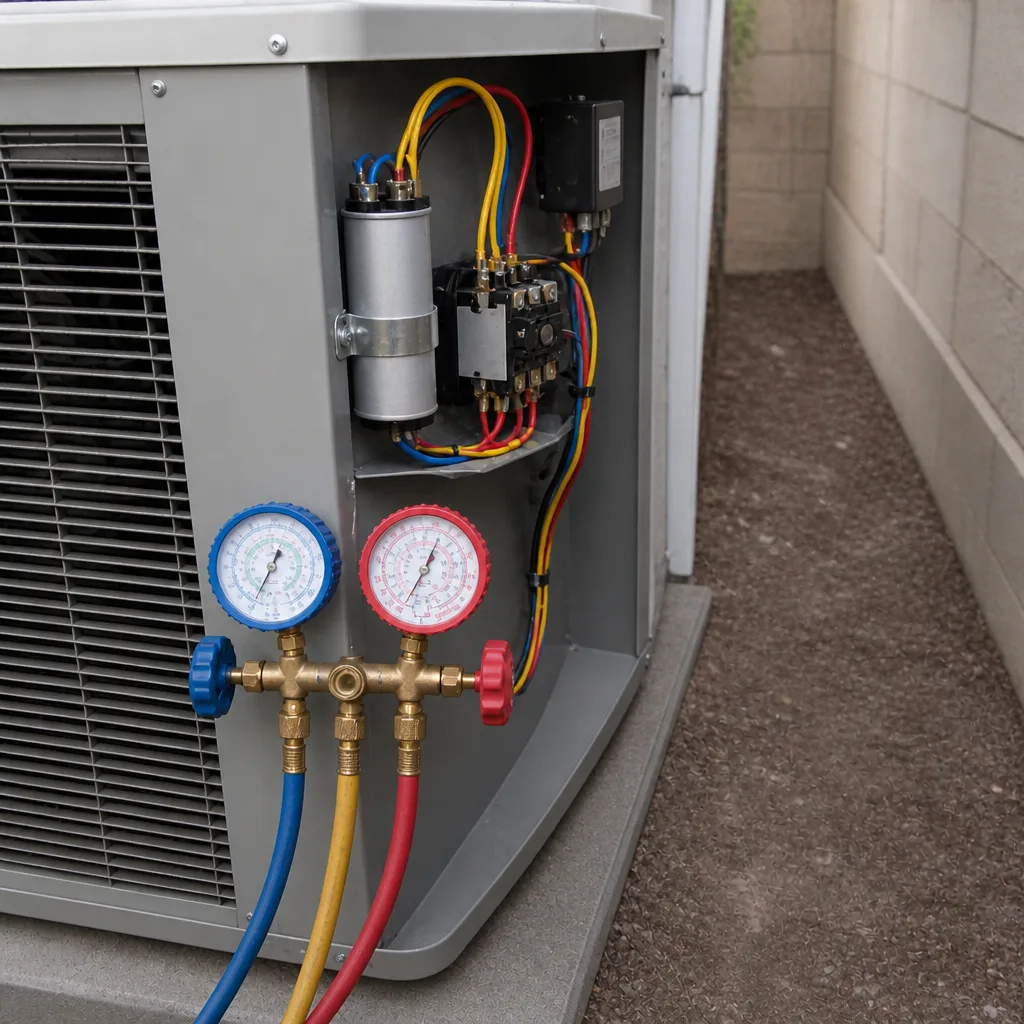
The third decision is commissioning. That means charging the system to the correct superheat or subcool value, verifying airflow at the vents, and confirming the thermostat is wired to the right terminals. A system that’s never been properly charged runs inefficiently and never delivers its rated capacity, no matter which brand is on the label.
When you understand these three decisions, you can start the conversation with your contractor from the right place. It also makes it easier to AC Repair Paradise when the installer who put the system in stopped returning calls, or when the diagnosis points at something structural in the install rather than a failing part.
Refrigerant Charge Problem vs. Refrigerant Leak: Two Different Fixes
These two situations look identical to a homeowner: the AC isn’t cooling like it should. They’re completely different problems, covered by completely different parts of your warranty, and they have different fixes. Getting them confused is the fastest way to pay for the wrong repair twice.
What a charge problem looks like
A charge problem means the equipment is fine but the amount of refrigerant inside it is wrong. Either the installer didn’t add the right amount during startup, didn’t account for the line set length, or charged it by gauge alone without weighing it in. Symptoms tend to be consistent: the system cools, but weakly, and the numbers stay flat across days. Nothing gets steadily worse.
What a leak looks like
A leak means refrigerant is escaping. Symptoms change over time. A system that worked in week one and is noticeably worse in month three has a leak, not a charge problem. Add in a hiss at the outdoor unit, ice on the suction line, and a system that stops cooling a few weeks after a refill and you’re almost certainly looking at a leak.
| Signal | Charge Problem | Leak |
|---|---|---|
| Performance over time | Consistently weak | Gets worse over weeks or months |
| Warranty responsible | Labor warranty (installer) | Equipment or line set warranty |
| Typical fix | Recover, evacuate, recharge to spec | Locate, repair or replace, then recharge |
| DIY check | None – gauges required | None – electronic leak detection required |
Why the warranty distinction matters: most manufacturers warrant the equipment against defects, but the installation labor is a separate promise. If the charge was wrong from day one, that’s an installation issue. If a factory coil or brazed joint is leaking, it may fall under the equipment or line set warranty. In both cases, a rigorous diagnosis is the first step – and that’s the kind of work we do on brand after brand, including Carrier and Trane systems, because the diagnosis path is the same no matter whose logo is on the cabinet.
One safety note: refrigerant handling is not a homeowner task. The gauges, recovery equipment, and vacuum pump aren’t optional tools, and venting refrigerant is illegal in the US. If you suspect a charge or leak problem, call a licensed technician.
Why a New Unit Struggles Above 108°F (It’s Usually Ducts)
When it’s 110°F outside in Paradise, every air conditioning system in the valley is running at the edge of its design capacity. If yours is the only house on the block that can’t hold 78°F indoors, the equipment isn’t the problem. The duct system is almost always where the air goes to die.
Here’s why. Attic temperatures in Paradise during summer can run well above outdoor temperature, and a duct system with leaky joints or missing mastic pulls that attic air into the airstream before it ever reaches your supply registers. An undersized return duct chokes the air handler. A sagging flex run collapses under its own weight and cuts airflow. None of these show up on the equipment data plate, but all of them show up in the house.
The confirmation tool is a static pressure test. A technician drills a small port near the air handler and reads the pressure on the supply and return sides. Total external static pressure above the manufacturer’s rated maximum tells you the ductwork is restricting airflow. High return-side pressure points at a choked return. High supply-side pressure points at undersized or leaky trunk lines. A duct blaster test, which pressurizes the whole duct system and measures how much air escapes, quantifies actual leakage.
What a proper duct fix involves
- Static pressure reading taken at the air handler on both supply and return sides.
- Visual inspection of accessible duct runs for disconnects, crushed flex, and missing mastic.
- Duct blaster test to measure baseline leakage in cubic feet per minute.
- Sealing of accessible disconnects with mastic or foil tape (never cloth duct tape).
- Rerouting or upsizing any collapsed or undersized runs.
- Post-seal static pressure and leakage retest to confirm the fix.
If the equipment is oversized for a small load, the fix isn’t just ducts. A short-cycling unit that was sized off square footage without a Manual J calculation may never have matched this home in the first place. That’s a conversation to have with whoever installed it – and if it’s a conversation you need to restart from scratch, that’s what our AC installation work is set up for.
Mismatched Coil Combinations and What the Fix Costs
A “matched system” means the outdoor condenser, indoor coil, and air handler were tested together and rated together by the manufacturer. A mismatched system means one of those components was swapped for something that doesn’t belong with the others. It’s a common shortcut in multi-brand installs, and it’s a frequent cause of the “my new AC just doesn’t freeze the house” complaint.
Symptoms of a mismatched system
- Capacity that measures well below the equipment rating, confirmed by airflow and delta-T readings.
- Repeated refrigerant charge drift despite a clean leak test.
- Coil icing during mild weather, followed by roaring performance in peak heat.
- Compressor running longer duty cycles than the load actually requires.
- Higher-than-expected electric bills relative to the square footage served.
Why this happens in a multi-brand install: an installer with access to a stacked inventory may swap an in-stock indoor coil for one that “will fit” the air handler, even if it wasn’t rated with that condenser. The unit turns on. The house cools. And the homeowner gets six weeks of performance before the problem shows up in a Paradise summer. Carrier, Bryant, American Standard, and most major brands publish matched-system combinations on their technical data. A tech who knows the brand will look up the combination rather than trust the box fit.
What the fix costs
The cost depends on which component is the mismatch and what condition the other parts are in. A coil-only correction is generally cheaper than replacing an outdoor condenser or air handler. When the system is still under manufacturer warranty, the equipment portion may be covered. Labor is separate and always quoted per job by written estimate. Expect the estimate to include a load calculation, a proper charge on the new combination, and a post-install airflow test. All of that should be written down before any work starts.
If you’re not sure what’s installed, compare the model numbers on the outdoor condenser nameplate to the indoor coil and air handler data plate. Every component should come from a matched-system table. If they don’t, ask the installer to produce the match reference before final payment.
Thermostat Wiring Problems You Can Describe in Plain English
Improper thermostat wiring is the most self-diagnosable problem on this list, if you know what behavior to look for. You don’t need to open the panel; you need to describe what the house is doing. That description is what gets a technician to the right answer faster.
Behavior signatures to watch for
- The fan runs, but the outdoor unit never starts. The thermostat is calling for Y (cooling), but the signal isn’t reaching the contactor. Wiring or control voltage issue.
- The outdoor unit runs, but the indoor blower never starts. The system is cooling but never moving air. Often a reversed or missing G connection.
- Cooling short-cycles every few minutes. The thermostat may be misreading the room because the wire bundle is running too close to a heat source, or the anticipator setting is wrong.
- Heat pump heats when cooling is called, or vice versa. The O/B reversing valve terminal is wired backwards. Common in changeout installs where the old system was single-stage and the new one is a heat pump.
- Second stage never engages. A two-stage unit wired to a single-stage thermostat will only ever run at low capacity, which shows up as “it’s not as strong as the old one.”
- Blowing a low-voltage fuse repeatedly. A short in the thermostat wire, usually from a staple through the cable or a pinched wire at the panel.
What to write down before you call: the thermostat model, whether the fan runs, whether the outdoor unit runs, what setting you had it on (cool, auto, on), and whether it’s a heat pump or a straight AC. That written list alone tells a competent technician roughly what to expect at the panel. In our experience, most thermostat wiring faults are corrected in under an hour once the right fault is identified. If your system was installed as part of a larger changeout and the wiring never quite behaved, our furnace repair and heating diagnostics touch the same low-voltage circuits, so the visit often covers both sides of the system.
Condensate Drainage in Paradise Dust and Caliche Soil
A properly installed drain line handles a lot of water in Paradise, especially through the first monsoon season after a changeout. An AC system pulls moisture out of the air, and that moisture has to go somewhere. When the drain line isn’t set up to handle it, the result is water on the ceiling, a soaked air handler closet, or a shutdown alarm that locks the system out when you need it most.
Why Paradise conditions stress the drain line
Two things hit a new drain line here in a hurry. Dust and grit settle on the access panels and coil pan during installation and in the months after; that grit washes into the primary drain line and starts building a blockage. The soil composition in Paradise also causes condensate lines routed under slab or in shallow trenches to shift and settle as the soil dries and re-dries after rain. A condensate line that isn’t secured properly at install will pull, kink, or disconnect the moment the ground shifts.
The other pressure point is the monsoon season. When humidity spikes, an AC running full load indoors can produce a much higher water volume than in early summer. If the drain line was sized or pitched only for normal operation, it backs up.
What a properly installed drain line should include
- A clear pitch of at least a quarter inch per foot along the whole run, with no low spots where water can sit.
- A sloped trap at the air handler that prevents the blower from pulling air up the drain.
- A secondary drain port or overflow pan with its own route, not just a capped opening.
- A float switch wired to shut the system down before the pan overflows if the primary clogs.
- End-to-end insulation on the exterior portions, so humid air doesn’t sweat on the pipe.
- Secured strapping every few feet, especially where the line routes under slab or through soil.
- A clean-out port near the air handler for annual flushing during service.
If your system is a heat pump, the drain also carries water in heating mode as defrost cycles run. If you’re seeing water where it doesn’t belong through the first cooling season, don’t wait for the ceiling to tell you – call for a diagnostic visit. The repair is cheap compared to the drywall.
A Step-by-Step Way to Narrow Down the Problem
Before you call for service, a few checks from the thermostat and the outdoor unit are completely safe for a homeowner and they speed up the diagnosis. Skip anything that requires opening a panel, touching refrigerant lines, or measuring electrical components. Those belong to a licensed technician.
- Check the thermostat mode and setpoint. Confirmed in COOL, set below room temperature, fan in AUTO. Simple but occasionally the whole “problem.”
- Write down what runs and what doesn’t. Fan only, compressor only, both, or neither. This is the single most useful piece of info you can hand a technician.
- Look at the outdoor unit from a safe distance. Is the fan spinning? Any frost on the copper lines? Any ice on the coil? Don’t touch – just observe.
- Check the air filter. A fully clogged filter starves the air handler and mimics a dozen other faults. If it’s gray to the point of opacity, replace it now.
- Test the breaker at the panel. If the outdoor unit breaker is tripped, reset it once. If it trips again immediately, stop and call – a repeated trip points at an electrical fault.
- Look and listen at the indoor unit. Water in the pan, unusual noise, or a condensate line that’s visibly disconnected are all things to report.
- Write down the model numbers. Outdoor condenser and indoor air handler. This tells the technician what parts or system match to bring.
What not to do: don’t add refrigerant yourself, don’t open the electrical panel, don’t try to clean the evaporator coil, and don’t remove the thermostat from its base. Any of those turn a diagnostic visit into a safety issue.
Common Mistakes to Avoid
- Accepting “it just needs a little Freon” without a leak test. A topping-off without finding the leak means the refrigerant leaves again, the problem returns, and you’ve paid twice. Insist on a leak test before any recharge.
- Choosing a unit by brand alone. Brand matters less than match and sizing. A well-matched Goodman or Rheem system outperforms a mismatched Carrier every time in a Paradise attic.
- Skipping the load calculation. If your installer didn’t do a room-by-room Manual J, ask why before signing. Sizing off square footage is how oversized systems end up short cycling through a Paradise summer.
- Ignoring the ducts during a changeout. A new system connected to thirty-year-old ducts is a new engine in a worn-out chassis. Duct testing should accompany any full system replacement.
- Setting the thermostat into the 60s during peak heat. It won’t cool faster and it can push the system into a longer duty cycle than the equipment is designed for. A reasonable setpoint with clean filters does more for the house.
- Using a brand the installer isn’t certified on. Multi-brand familiarity matters. If you’re offered a brand the contractor hasn’t serviced, ask what happens on the first warranty call.
- Assuming the thermostat is fine because it lights up. Wiring faults and misconfigured terminals can pass a basic screen test and still cause short cycling, staging failures, or reversed heat pump operation.
- Letting the condensate drain go unflushed. Dust and grit in Paradise plug shallow traps by the first monsoon season. A quick flush during annual service prevents the backup entirely.
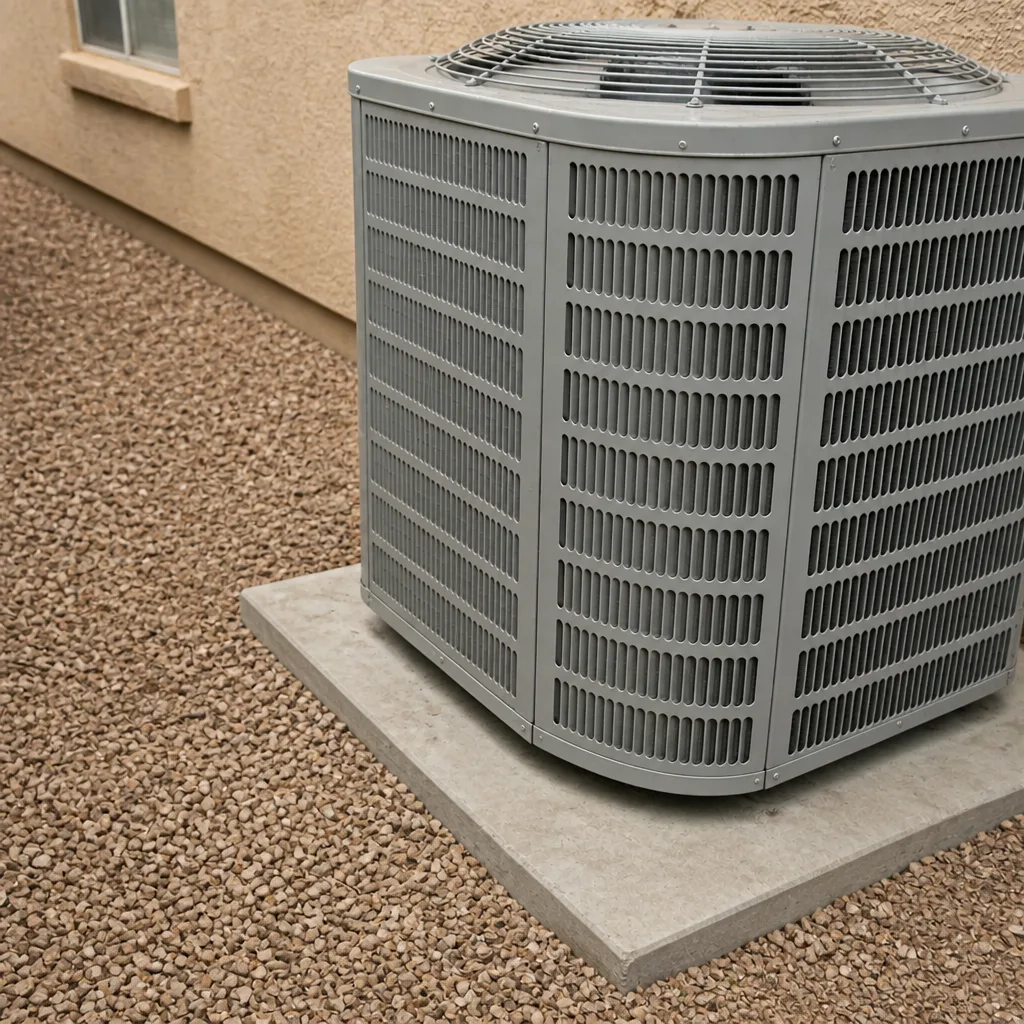
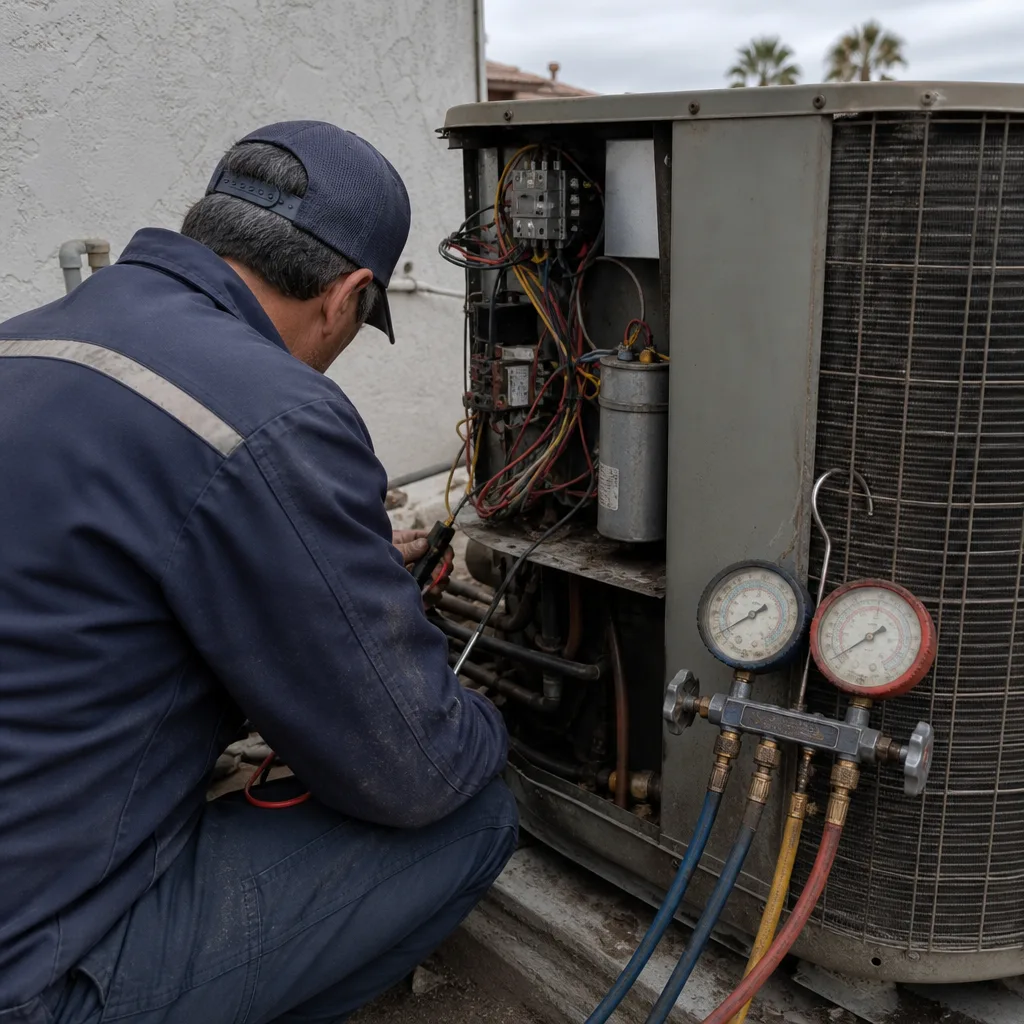
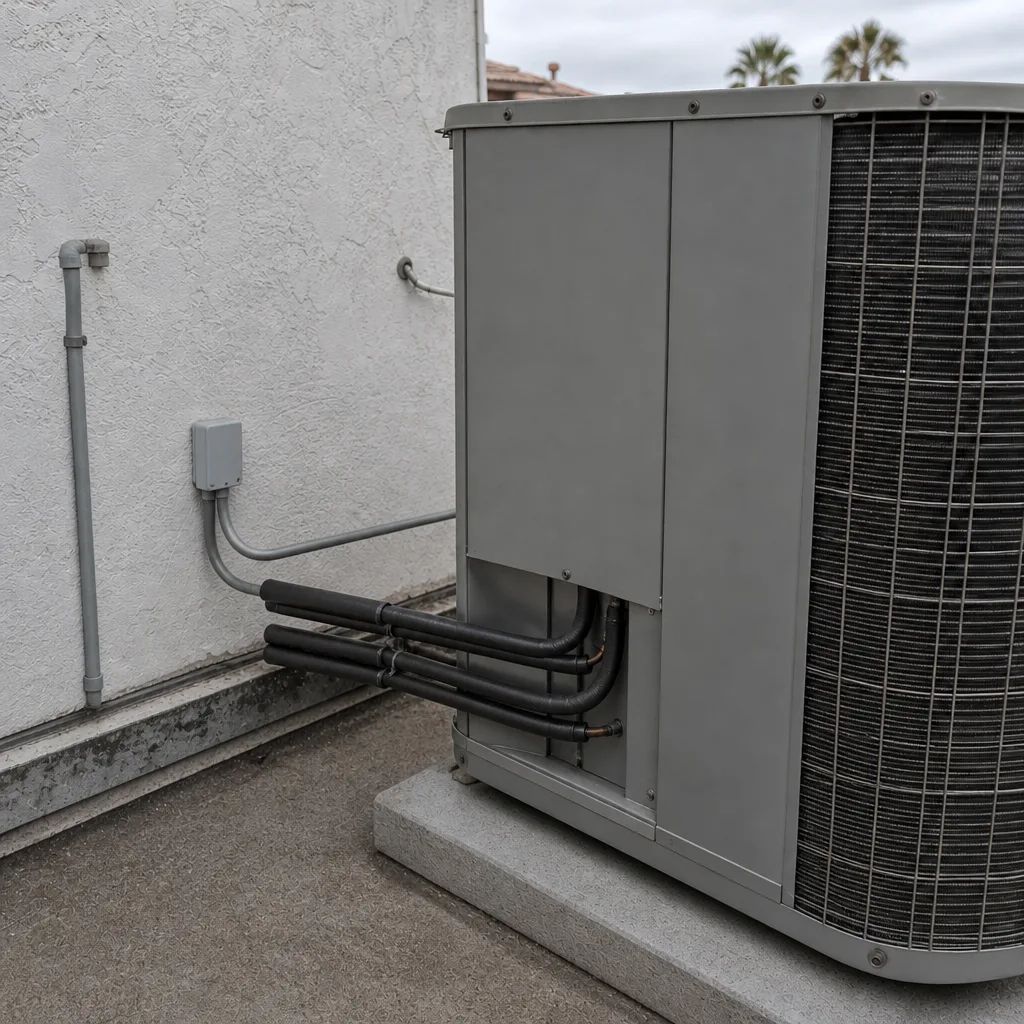
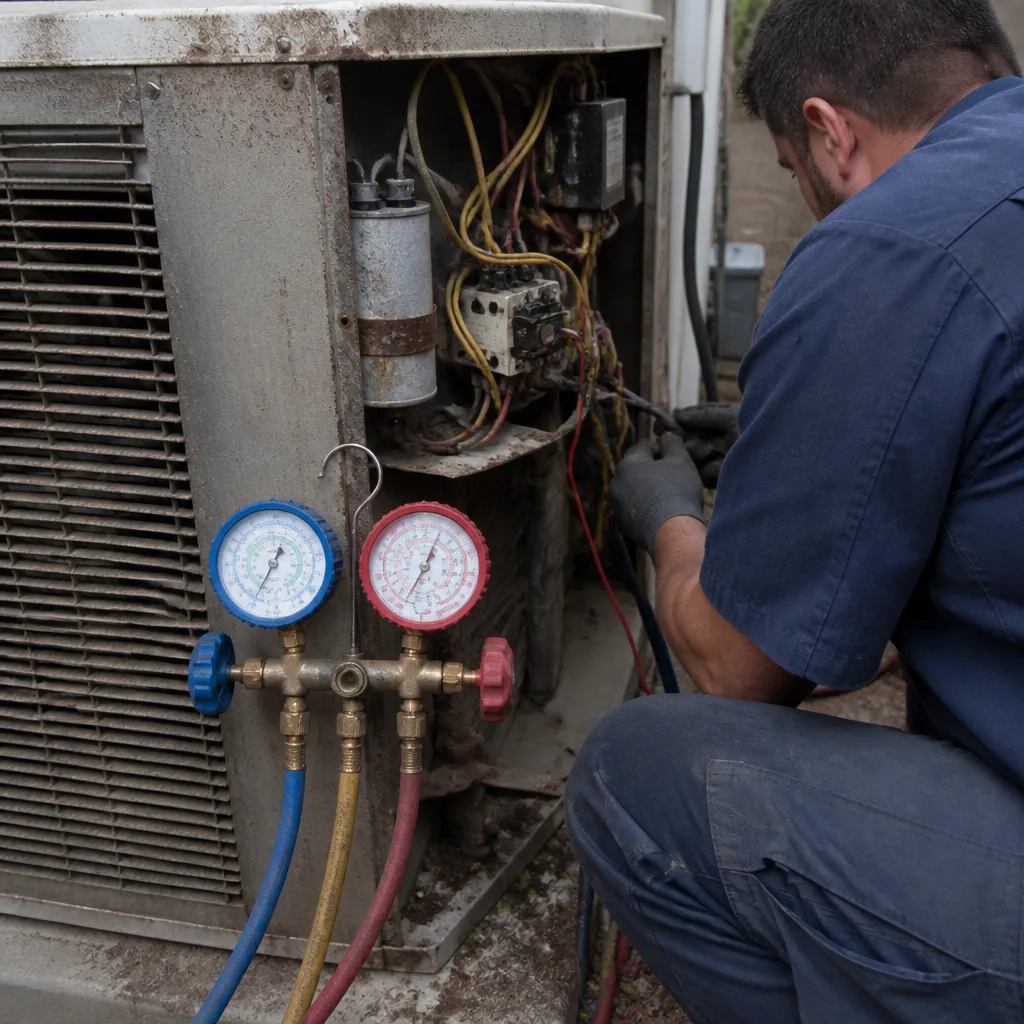
See the difference
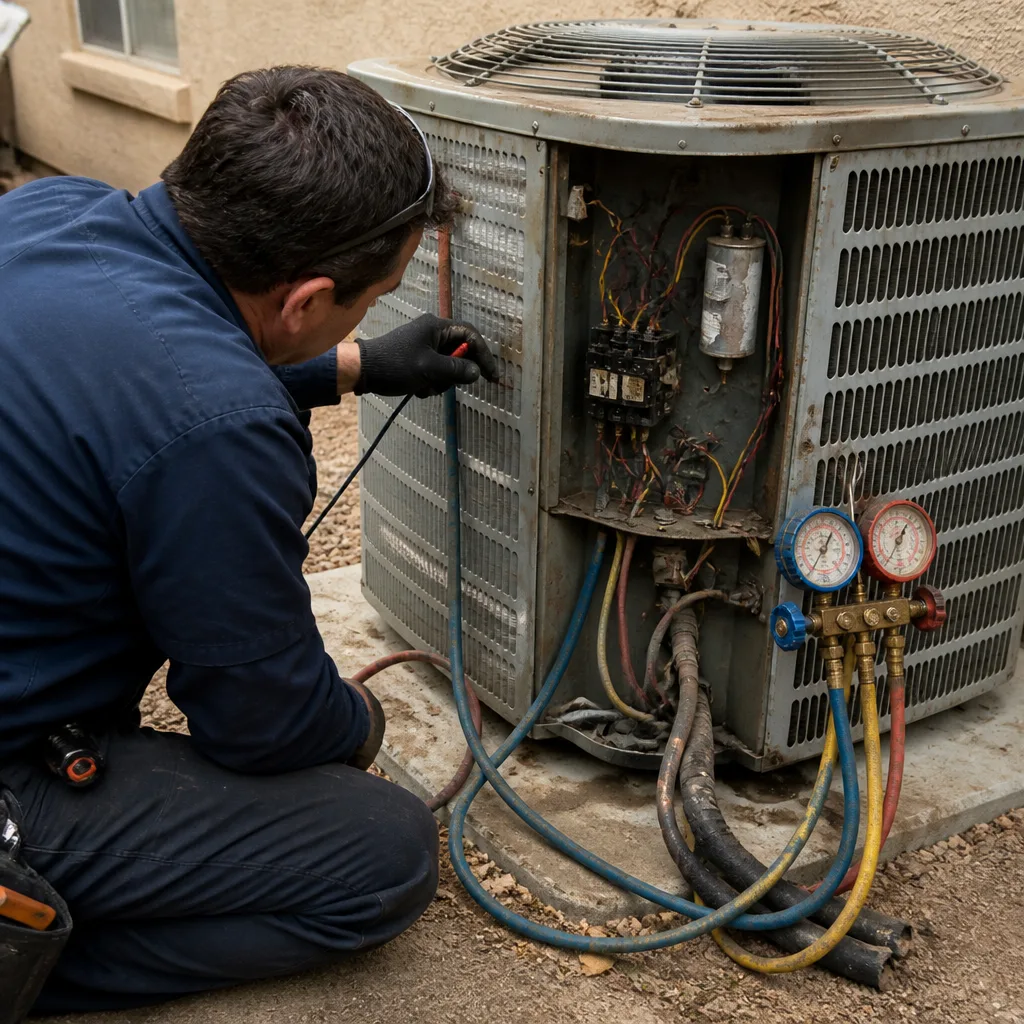 Before
 After
 Before
 After
 Before
 After
When to Call a Professional
Some faults are safe to identify; none of the ones on this list are safe to repair without the right tools and license. Call a licensed technician when you’re seeing any of the following: the outdoor unit hums but won’t start, the breaker trips more than once, ice forms on the indoor or outdoor coil, water is pooling near the air handler, the house won’t hold temperature on a multi-hour stretch above 108°F, or the system has been recharged more than once in the same season. Refrigerant, electrical panels, and gas-fired heating components all carry real injury risk and belong to a trained technician. We’ve seen enough systems from the major brands to give an honest repair-vs-replace opinion on the first visit, and if the call is for a home in Paradise, AC Repair Paradise offers free estimates – call (844) 820-2853. We answer 24/7, with fast dispatch from 7am to 7pm.
Frequently Asked Questions
Short cycling on a new system almost always points to one of three things: the unit is oversized for the home’s actual load, the thermostat is misconfigured or miswired, or the system is losing charge through a leak that was never caught during commissioning. The first step is a static pressure check and a full refrigerant reading. If you want an honest diagnosis before authorizing any part replacement, call (844) 820-2853 – estimates are free.
No. A properly sized and properly ducted system should hold its design indoor temperature at the outdoor design temperature for this climate – which sits above that range on the valley’s hottest afternoons. If the system can’t keep up, the likely causes are duct leakage, undersized returns, or an incorrectly charged system. A static pressure test confirms which one.
A charge problem is stable – the system cools weakly but doesn’t get worse over weeks. A leak is progressive – performance declines over time, and the system may stop cooling a few weeks after a recharge. Only a licensed technician can confirm either with gauges and an electronic leak detector. Call (844) 820-2853 for an exact quote on the diagnosis.
Yes. A room-by-room load calculation (Manual J) accounts for wall insulation, window placement, sun exposure, and duct losses – not just square footage. Without one, the system may end up oversized and short cycling, or undersized and never keeping up. Ask any installer to show you the calculation before signing.
Yes. A mismatched coil changes the system’s refrigerant balance, which can cause the indoor coil to run below freezing and ice over, especially in mild weather when airflow is already reduced. The fix is to either replace the coil with the manufacturer’s matched component or replace the whole system – and a competent estimate tells you which makes sense based on the age of the other parts. Call (844) 820-2853 for a free estimate on either path.
Dust and grit from the install and surrounding environment wash into shallow traps, and the extra moisture volume of monsoon season overwhelms drains that aren’t pitched, insulated, or trapped correctly. A properly installed line runs at a quarter inch per foot, has a sloped trap, and includes a float switch to shut off the system before it overflows. If yours doesn’t, a service call can correct it before the ceiling tells you.
The Bottom Line
New-install comfort problems in Paradise are almost never the equipment’s fault. They’re the result of three decisions made before startup: how the system was sized, how the ducts were connected, and how the refrigerant circuit was commissioned. Every symptom we’ve covered – short cycling, weak airflow, charge drift, ice on the coil, water in the pan – traces back to one of those three. When you know which one is likely in your home, you can ask your contractor the right question instead of accepting a top-off and a shrug. A written estimate is free, and a proper diagnosis on the first visit is what saves the money.
If you’re still narrowing down the cause of a cooling problem, or you want a second opinion on an install that never quite worked, call (844) 820-2853. AC Repair Paradise works on Carrier, Bryant, American Standard, and six other major brands – one team for install, repair, and replacement, with brand-agnostic recommendations and a straight answer on repair versus replace. We answer 24/7, with fast dispatch from 7am to 7pm, Sunday through Friday, and free estimates on every visit.
Written by the team at AC Repair Paradise.